Solar Panel Installation Kenya Guide: Steps and When to Hire
A solar installation that skips proper planning can leave you with underperforming panels, voided warranties, or a roof that leaks every rainy season. Knowing each step before work begins helps you ask the right questions and spot a contractor who cuts corners. If you need reliable power while your solar project comes together, a quality powerbank keeps your devices running without interruption.
See everything powerbanks.africa can do for you.
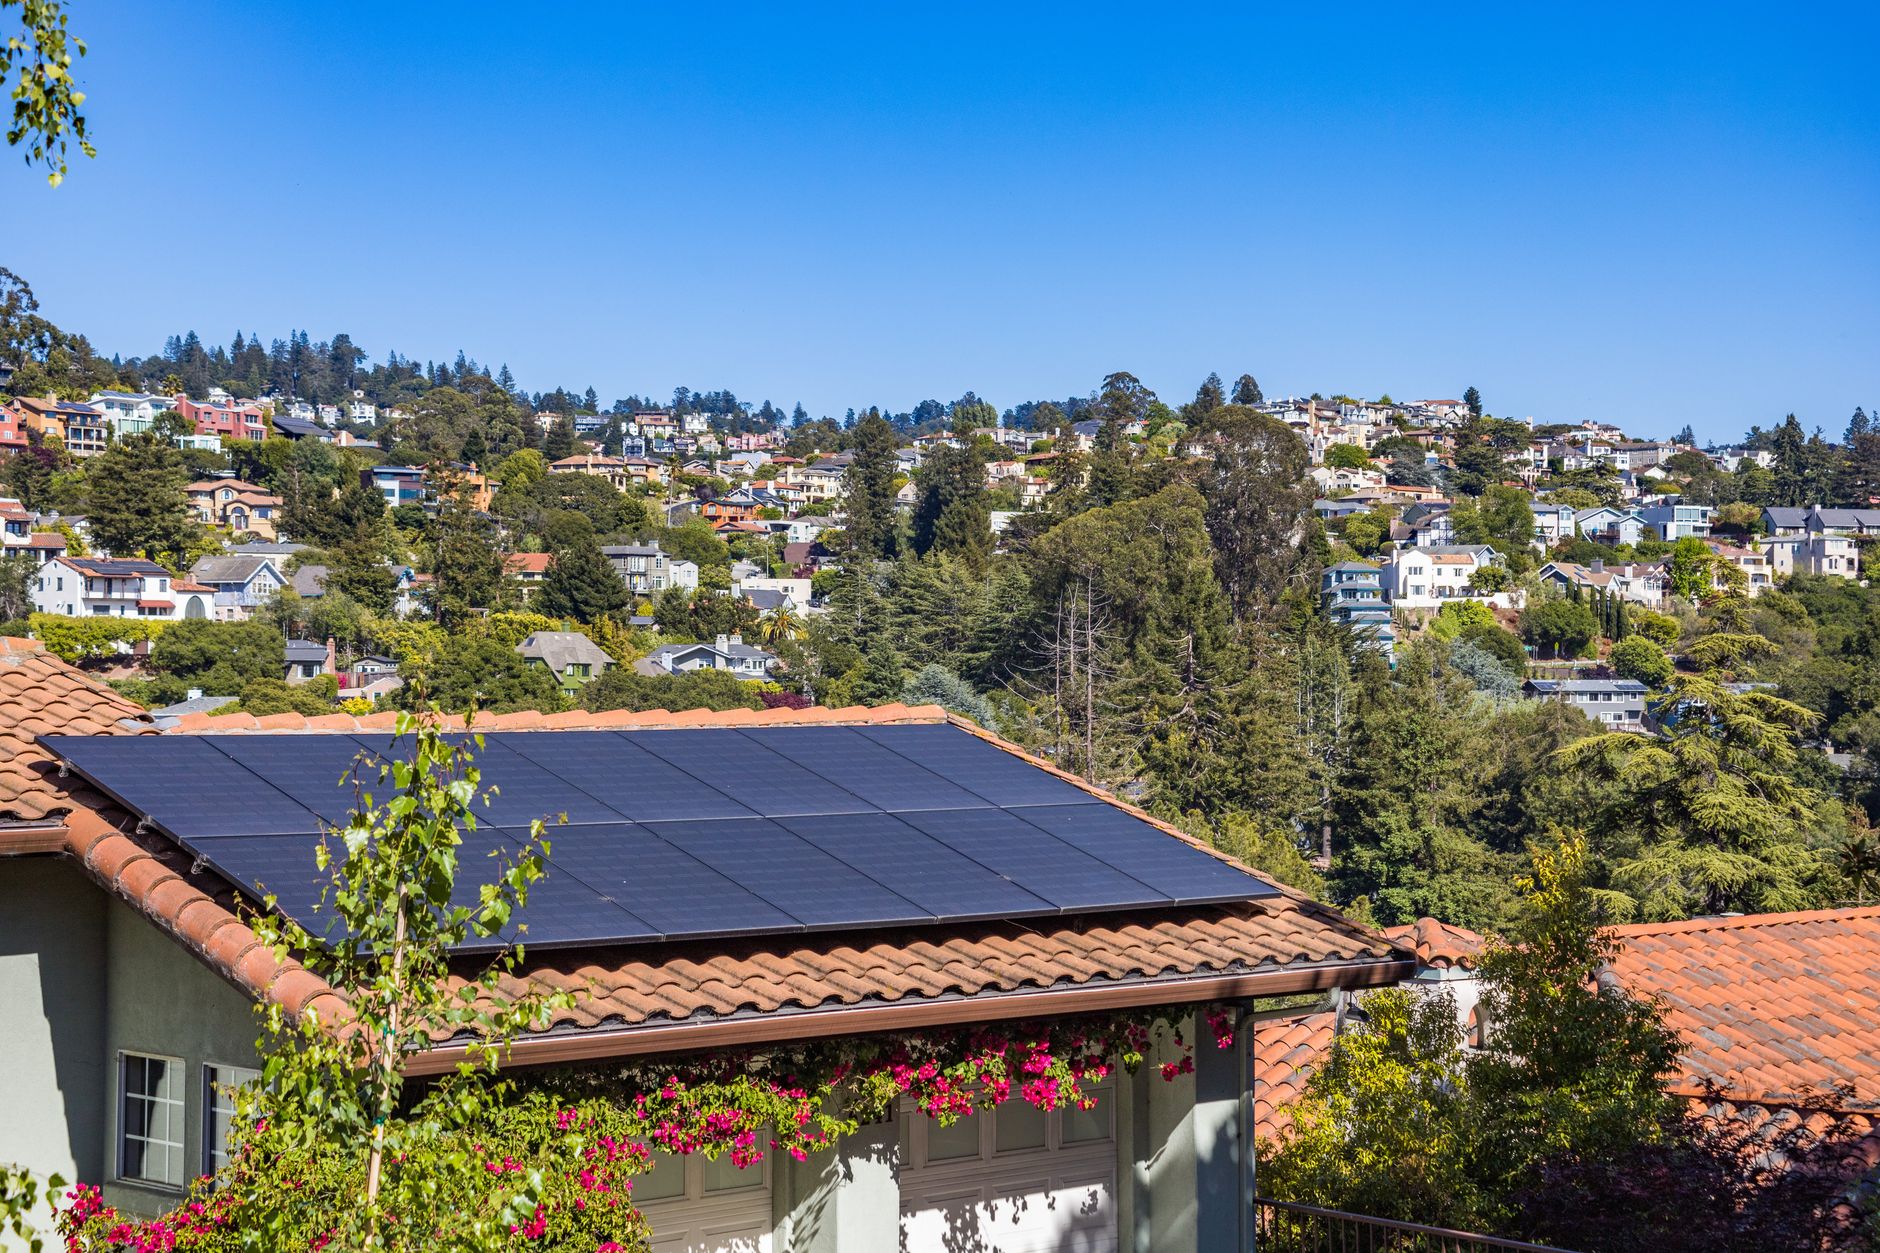
If you have already explored Solar Panels Best Prices and know the kind of system you want, the next big question is how to get it onto your roof safely and correctly. This solar panel installation kenya guide is designed to walk you through that process in plain language, covering every step from the moment you first look up at your roof to the day your system starts generating power. Kenya's energy landscape has changed enormously over the past decade, and solar is now a genuine, affordable option for homeowners across Nairobi, Mombasa, Kisumu, and rural counties alike. Getting the installation right matters just as much as choosing the right panels and batteries. A poorly executed installation can cut your system's output, void your manufacturer's warranty, and create safety hazards that are expensive to fix long after the installer has left your compound.
Why Solar Panel Installation in Kenya Requires Planning
Kenya's equatorial climate delivers generous sunshine for most of the year, but it also brings heavy rains, coastal humidity, and the occasional hailstorm in highland areas, all of which your solar installation must withstand. Before a single bolt goes into your roof, a proper assessment of the structure, the local regulations, and your household energy needs will save you from costly mistakes later. Incorrect installation can reduce system efficiency by as much as 25 percent, a loss that adds up to thousands of shillings in missed savings over the lifetime of your panels. Local building codes and electrical regulations also vary between counties and municipalities, so what is permitted in Nairobi may require additional approvals in Kisumu or Mombasa. Taking the time to plan carefully protects your investment and gives you the foundation for a system that will perform reliably for 25 years or more.
Step One: Assess Your Roof Condition and Orientation
Your roof is the platform on which everything else rests, so its condition deserves honest scrutiny before you commit to any purchase. Walk the surface carefully and look for sagging sections, cracked tiles or sheets, and any signs of water ingress, because panels will sit on that surface for decades and any existing weakness will only worsen under the added weight. Check your roof's age and compare it against your expected panel lifespan, since solar panels typically last 25 to 30 years and you do not want to remove and reinstall an entire array just to repair a roof that was already aging when the panels went up. Use a compass or a smartphone compass app to determine which direction your roof faces, because in Kenya a north-facing roof captures the most consistent solar radiation throughout the day given the country's position just south of the equator. Measure the pitch or tilt angle of the roof surface, since the optimal tilt in most Kenyan locations is between 10 and 20 degrees, and a steep or flat roof will require an adjustable mounting structure to compensate.
Checking for Shade
Spend time at different hours of the day observing whether nearby trees, water tanks, antenna masts, or neighbouring buildings cast shadows across your intended panel area. Even partial shading on one panel can significantly reduce output across an entire string, so this step deserves more attention than most homeowners give it. If you notice consistent shading across part of your roof, consider whether pruning a tree or repositioning the array solves the problem before you finalise your layout. A shading analysis done properly at this stage prevents years of underperformance that no amount of inverter tuning can fully recover. If significant shading is unavoidable, discuss microinverter or power optimiser options with your installer, since these technologies reduce the impact of shading on individual panels.
Step Two: Calculate Your Load and Size the System
Designing a solar system without understanding your energy consumption is like filling a tank without knowing its size. Pull out your Kenya Power electricity bills from the past 12 months and note your average monthly consumption in kilowatt hours, then identify the months where your usage spikes, often December through January when families are home during school holidays. Account for seasonal cloud cover as well, since Kenya's long rains between March and May and the short rains in October and November will reduce daily solar generation, and your system should be sized to cover your needs even during those lower-output periods. Using your consumption figure alongside local solar irradiance data, which is widely available for Kenyan regions, calculate how many panels of your chosen wattage you need to generate enough energy across the year. If you want power during evenings or during load-shedding episodes that still affect some parts of the country, factor in battery storage capacity at this stage, because adding batteries as an afterthought is more expensive than designing for them from the start.
On-Grid Versus Off-Grid Decisions
Decide whether an on-grid system that exports surplus power back to the utility is right for you, or whether an off-grid setup makes more sense for a remote plot or a home where grid reliability is poor. On-grid systems in Kenya are subject to Kenya Power's net metering framework, which credits you for exported electricity, so they suit households that consume heavily during the day. Off-grid systems require larger battery banks to cover night-time consumption and cloudy periods, which raises the upfront cost but eliminates dependence on the utility entirely. Hybrid systems sit between these two options, staying connected to the grid while also storing energy in batteries for use during outages. Understanding which category fits your situation before you buy prevents the frustration of purchasing equipment that does not match your actual needs.
Step Three: Prepare the Roof and Install the Mounting Structure
Good preparation at this stage prevents the two most common problems reported by Kenyan homeowners after solar installation: roof leaks and a mounting structure that shifts or corrodes within a few years. Clean your entire roof surface thoroughly and do a final inspection pass before any drilling begins, because discovering a cracked tile or a rusted iron sheet now is far less disruptive than discovering it under a fully installed array. At every point where a bolt will penetrate the roof, install waterproof flashing made from galvanised or aluminium sheet, sealed with a high-grade roofing compound rated for Kenya's rainfall intensity. The racking rails that will support your panels must be bolted with stainless steel or hot-dip galvanised fasteners, especially in coastal counties from Mombasa to Malindi where salt air accelerates corrosion on ordinary steel within months. Set each rail carefully so the finished structure is perfectly level and aligned at the tilt angle your design specifies, because even a few degrees off optimal can cost you a meaningful percentage of annual generation.
Final Checks Before Panels Go Up
Once the racking is in place, go back along every bolt and connection with a torque wrench and verify that nothing has shifted during assembly before you bring the first panel to the roof. Check that flashing seals are fully cured and that no section of racking is resting directly on the roof membrane without the correct standoff clearance. This gap between the panels and the roof surface is important for ventilation, since panels operate more efficiently when air can circulate beneath them to carry away heat. In highland areas where night temperatures drop sharply, the expansion and contraction of metal racking can loosen connections over time, so use locking fasteners where the manufacturer recommends them. A methodical check at this point takes less than an hour and prevents far more expensive remediation later.
Step Four: Mount the Panels and Complete the Wiring
With a solid mounting structure in place, panel installation itself is relatively straightforward, though it still demands patience and two sets of hands. Position each panel on the rails and secure it using the clamps or bolts specified by the panel manufacturer, because using undersized hardware to save a few shillings risks a panel detaching during a storm and creating a serious safety hazard. Connect your panels in the series or parallel configuration your system designer specified, matching the circuit layout to your inverter's input voltage and current ratings. All DC cabling between the panels and the inverter should run inside UV-resistant conduit, because Kenya's highland sun and the moist air in areas around Lake Victoria and Mount Kenya will degrade unprotected cables within a few years. Between the solar array and the inverter, install a properly rated DC disconnect switch and a circuit breaker so that any future maintenance or fault-finding can be done safely without live current in the wiring.
Certifications and Regulatory Compliance
Use cables, connectors, and junction boxes that carry the relevant certifications, such as TUV or UL ratings, and ensure the entire installation conforms to Kenyan electrical wiring regulations as set out by the Energy and Petroleum Regulatory Authority. The Kenya Bureau of Standards also maintains requirements for solar equipment sold in Kenya, so look for KEBS-certified components when sourcing locally. Submitting your installation documentation to the relevant county authority is not optional for grid-connected systems; it is a legal requirement and a practical protection for you as the homeowner. An unregistered installation can complicate property sales and insurance claims years down the line. Keeping a full file of your permits, equipment certificates, and wiring diagrams costs nothing beyond a few minutes of organisation and can save significant trouble later.
Step Five: Commission and Test the System
Commissioning is the stage where everything you have planned and installed is verified to be working as designed before you rely on it day to day. Turn on the system in sequence, starting with the DC disconnect, then the inverter, and finally the AC connection to your home's distribution board, following your inverter manufacturer's startup procedure precisely. Check the inverter display or monitoring app to confirm that the array voltage and current readings match what your design calculations predicted for the time of day and weather conditions. Walk around the roof and inspect every panel connection and cable entry point one final time to confirm nothing was disturbed during the final stages of installation. If your system includes a battery bank, run it through a full charge and discharge cycle and confirm that the battery management system is reporting accurate state-of-charge figures before you depend on it during an outage.
Monitoring Performance Over Time
Set up remote monitoring if your inverter supports it, since most modern inverters sold in Kenya include a Wi-Fi module and a companion app that shows daily, monthly, and lifetime generation figures. Monitoring allows you to spot a drop in output quickly, which might indicate a soiled panel, a loose connection, or a shading problem caused by a tree that has grown since installation. Compare your actual monthly generation figures against the projections in your system design to confirm the installation is performing as expected. If generation consistently falls more than 10 percent below projections without an obvious explanation such as extended cloud cover, arrange for a professional diagnostic check. Staying engaged with your system's performance over the first year builds a clear picture of what normal looks like and makes any future fault-finding much faster.
When to Hire a Certified Installer
Understanding the installation process is genuinely valuable even if you plan to hire a professional, because it helps you ask the right questions, evaluate quotes, and verify that the work has been done correctly. That said, there are situations where professional installation is not optional but essential. If your roof has a complex shape with multiple ridges and valleys, a steep pitch above 35 degrees, or any structural concerns identified during your assessment, a licensed structural engineer and a certified solar technician should both be involved before a single bracket is drilled in. Professional installers in Kenya are familiar with the building permit requirements of different municipalities, and they can handle the paperwork for Nairobi City County, Kiambu County, and other local authorities that require permits before grid-connected systems go live. Certified technicians also understand Kenya Power's grid connection rules and the net metering framework, which governs how exported electricity is credited to your account, and an improperly connected system can be disconnected by the utility or create backfeed risks for KPLC linemen working on the local network.
Situations That Always Require a Professional
Any system that includes lithium battery storage banks, multiple inverters operating in parallel, or a three-phase connection for a larger home or small business should always be designed and installed by a certified professional, because the fault currents and fire risks involved go well beyond what a competent DIY approach can safely manage. Reputable installation companies carry professional indemnity insurance and offer workmanship warranties that protect you if a wiring fault or a roof leak develops after the job is done. Ask prospective installers to show you their Energy and Petroleum Regulatory Authority certification and at least three references from completed residential installations in your county. A trustworthy installer will welcome those questions rather than deflect them. This solar panel installation kenya guide gives you the background to evaluate the answers you receive and recognise when something is being glossed over.
A well-executed solar installation is one of the most rewarding home improvements you can make in Kenya, delivering energy independence, lower bills, and a reduced carbon footprint that lasts for a generation. Whether you are doing preliminary work yourself or handing the entire project to a certified contractor, the steps in this guide give you the knowledge to make confident decisions at every stage. Roof assessment, load calculation, proper mounting, and correct wiring are not bureaucratic boxes to tick but practical measures that determine whether your system reaches its potential or falls short of it. The best solar systems are only as good as the installation behind them, and cutting corners at any stage tends to show up as lost output, voided warranties, or repair bills that arrive years too late to be covered. Take the planning seriously, choose certified components, and work with installers who can demonstrate their qualifications and past work in Kenya's varied climates and building environments. Your system will then deliver reliable, clean power for well over two decades, paying back its cost many times over and providing the kind of energy security that Kenyan homeowners increasingly depend on.
See everything powerbanks.africa can do for you.
Visit powerbanks.africa →